
Wednesday, October 28, 2015

Sunday, October 25, 2015


Tuesday, January 8, 2013
Champagne Ice Cream
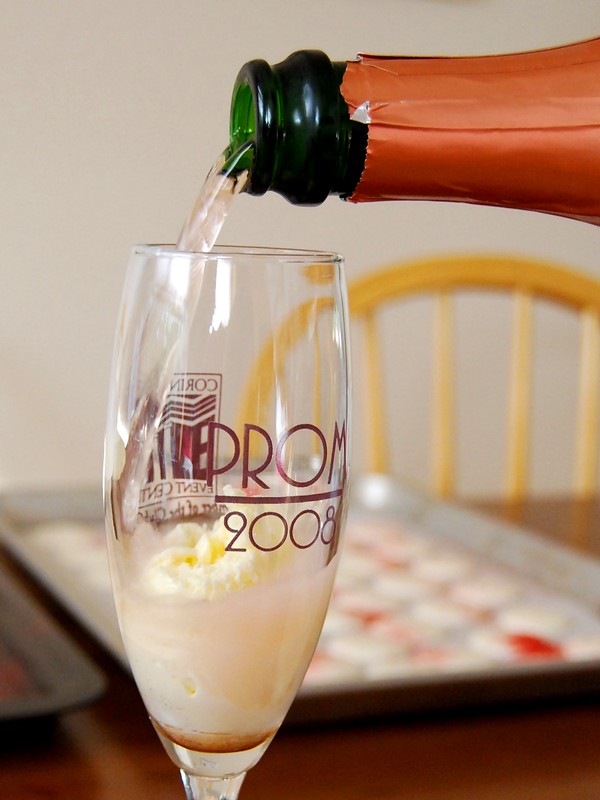

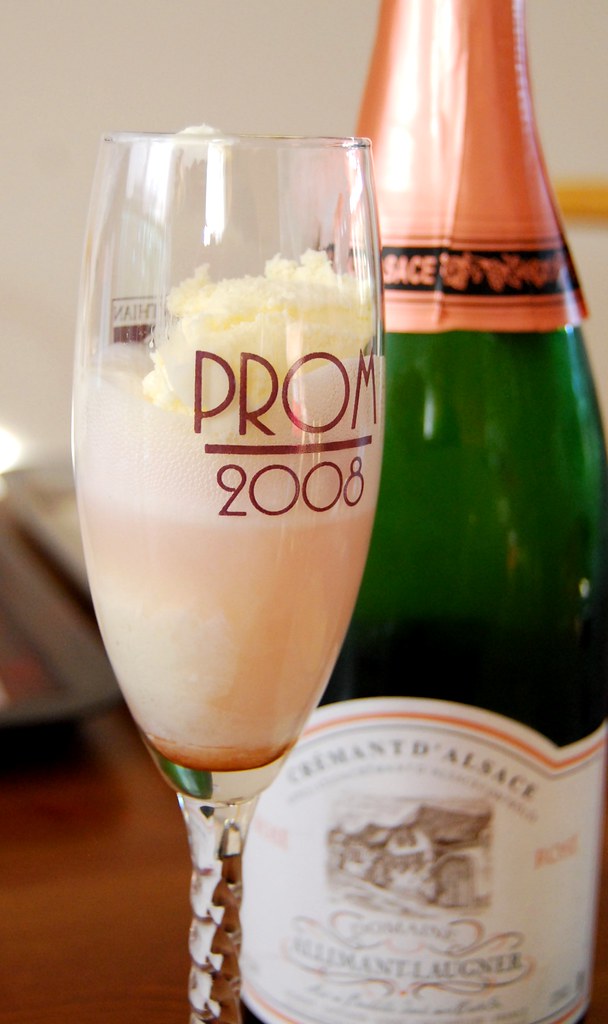
Please ignore the Prom 2008. It was the only champagne glass we could find...shameful, we know. Despite being served in such a hideous receptacle, this ice cream wowed us with its deliciousness. (You know how to tell if something is really yummy? You'll eat it no matter what it looks like or what it's sitting in - it's just that good. Unless it's sitting in...ah, you get the picture)
Champagne ice cream, we discovered to our delight, tastes like fermented sweet rice! Light and bright, not quite as heavy or bossy as bourbon (not to bash on bourbon, it's delicious too, just not in the same way). Here are some ideas for how to eat champagne ice cream:
1. Straight out of the container. Get a long skinny spoon and scoop out little shards of ice cream directly from the container.
2. Out of a tiny wine glass. Scoop a nice round ball of ice cream and plop it into your glass. Quickly stuff the rest of the ice cream back into the freezer so you aren't tempted to get seconds. Sit down in a quiet place with a tiny spoon and savor as slowly as possible.
3. In a champagne glass with champagne poured over. Like a root beer float, except pink.
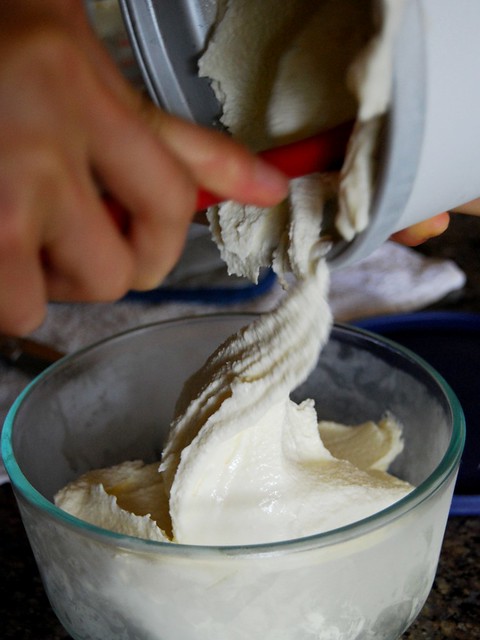
Caramelized White Chocolate Creme Fraiche Ice Cream
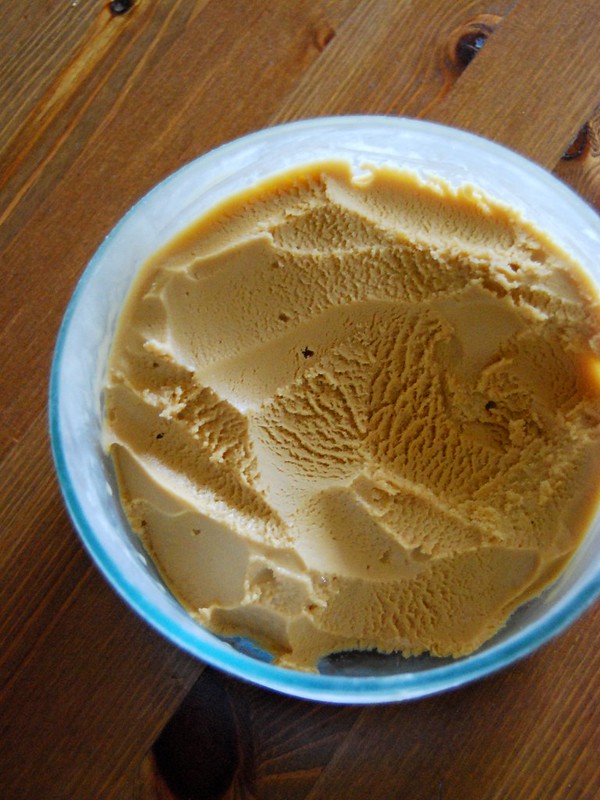
Do you like white chocolate? Doesn't it taste like milk, malted milk, vanilla, sugar, butter, peace, joy, and happiness all blended together? Now think about caramel. Roasty, buttery, slightly bitter, brown sugar and honey notes, just plain delicious. Yes. You know where this is going. What's the third thing I'm going to ask you to think of? Did I hear someone say ice cream? Ah, genius. But not just any old ice cream - we're talking creme fraiche ice cream. Ice cream with a slight tang, a rich buttery milky flavor. This ice cream is just that and more. The white chocolate keeps the texture velvety, and each bite is exquisite. The ice cream has a little resistance, not melting instantly but slowly pulling at your tastebuds in the way that chewy caramel lingers, before dissolving into buttery bliss.
The caramelization of the white chocolate takes some time - you need to stir it every 10 minutes or so as it bakes at a low temperature in the oven. However, if you have an hour to spare, do it. And make sure you use Valrhona chocolate because it has a high cocoa butter content, allowing it to melt smoothly without turning too chalky. This is one of the best ice creams we've ever made - right up there with champagne, green tea, jasmine, vanilla bean, bourbon, fresh strawberry, and garden mint, all in the ice cream hall of fame.
Caramelized White Chocolate Creme Fraiche Ice Cream (adapted from David Lebovitz's blog)
235 g (8.25 oz) Valrhona white chocolate pieces
¾ cup crème fraiche
1 ¼ cup whole milk
¼ cup sugar
3 large egg yolks
1 pinch of kosher salt
Caramelize white chocolate. Preheat oven to 250°F. Spread chocolate pieces on a Silpat or parchment lined baking sheet in a single layer and place in the oven. Take the tray out after 20 minutes to stir the chocolate and prevent burning. Keep stirring every 10 minutes for 1 hour or so, until the chocolate is caramelized, delicious smelling, and about the color of almond skins. Scrape the chocolate into a small bowl and keep warm and melted until ready to use. You should have about 180 g (6.25 oz) caramelized white chocolate.
Make custard. Place crème fraiche and ½ cup of the milk in a 4-cup glass measuring cup and put a fine mesh sieve on top. Bring remaining ¾ cup milk and half of the sugar (2 Tbsp) to a simmer in a heavy small saucepan over medium-high heat until steaming, stirring a bit to dissolve the sugar. Meanwhile, combine egg yolks and remaining 2 Tbsp sugar in medium bowl; whisk until thick and blended. Gradually whisk steaming milk mixture into yolk mixture. Pour everything back into the pot and stir constantly over medium-low heat, scraping into the corners of the pot, until custard thickens enough to leave path on back of a spatula or spoon when a finger is drawn across and temperature registers 178°F, about 3 minutes. Immediately pour through sieve into crème fraiche mixture. Mix a splash of custard into the melted caramelized white chocolate until smooth. Pour white chocolate mixture into the rest of the custard. Add a teeny pinch of salt, mix to dissolve, and taste and adjust salt as needed. Refrigerate at least 5 hours until completely cold (overnight is best). Churn in ice cream maker.
Subscribe to:
Posts (Atom)