Pages

Tuesday, February 23, 2010

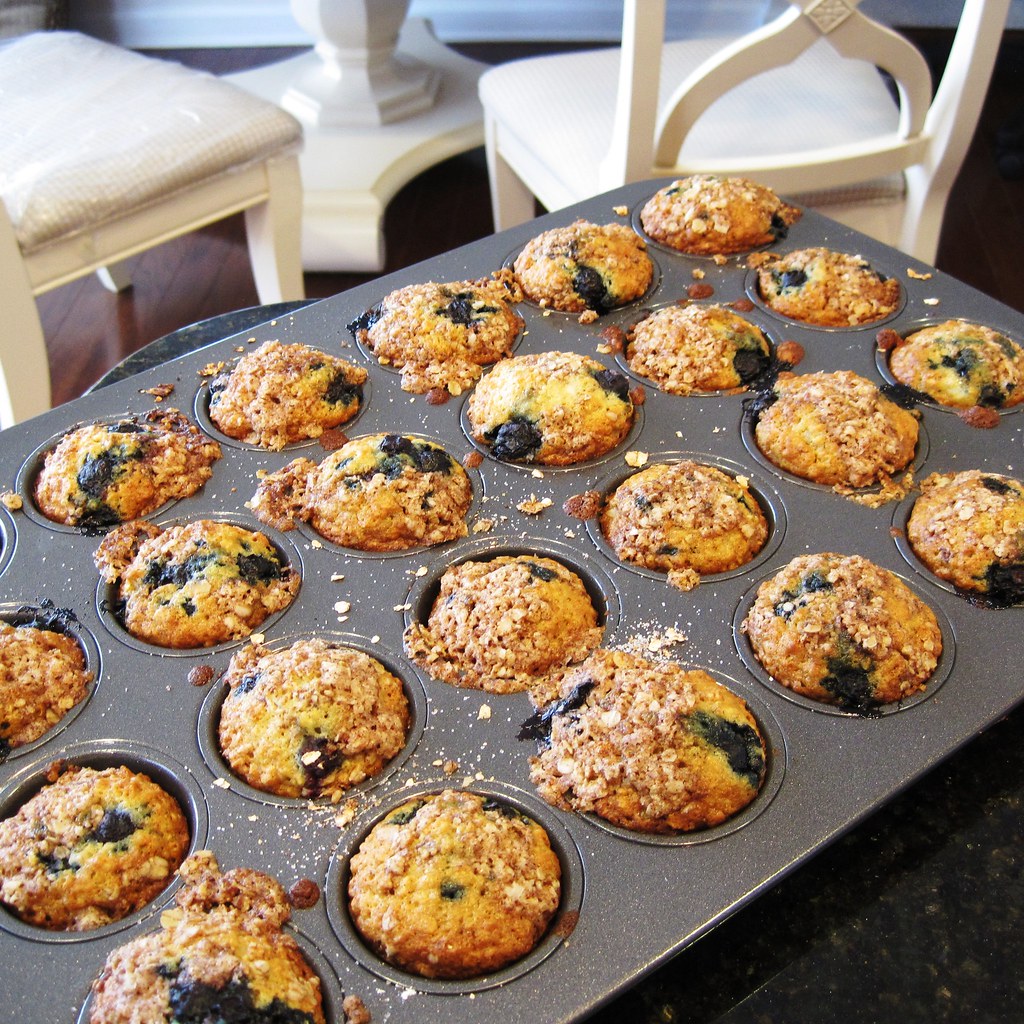
Mini Blueberry Oatmeal Muffins


Hey, these are good for you. Oats will keep your heart strong and blueberries will make you smarter. So you can have your muffin for breakfast and feel good about it too.

Mini Blueberry Oatmeal Muffins (adapted from All Recipes)

Dry:
1 1/4 cup quick cooking oats
1 cup all purpose flour
1/3 cup white sugar
1 tsp baking powder
1 tsp baking soda
1/2 tsp salt

Wet:
1 cup milk
1 egg
1/4 cup vegetable oil

Mix-ins:
1 cup frozen blueberies, tossed in 2 Tbsp flour

Streusel Topping
1/2 cup oats
3 Tbsp white sugar
2 Tbsp cinnamon
3 Tbsp butter


0. Preheat oven to 400 degrees F.

1. Mix dry ingredients together in a large bowl with a fork. Mix wet ingredients in a medium bowl. Mix streusel topping ingredients together in a small bowl and set aside.

1.5. Butter a mini muffin tin and drop 1 blueberry into each cup.

2. Make a well in the dry ingredients and pour wet mixture into dry mixture, stiring carefully until just combined.

3. Fill muffin cups 3/4 of the way full with batter. Drop 2-3 blueberries on top of each filled cup. Top each with a pinch of streusel topping.

4. Bake for 14-16 minutes, until blueberries are bubbly and tops are golden brown and delicious. Let cool for 4 minutes and enjoy with a glass of milk.

Monday, February 22, 2010

Spicy Salad and Roast Duck


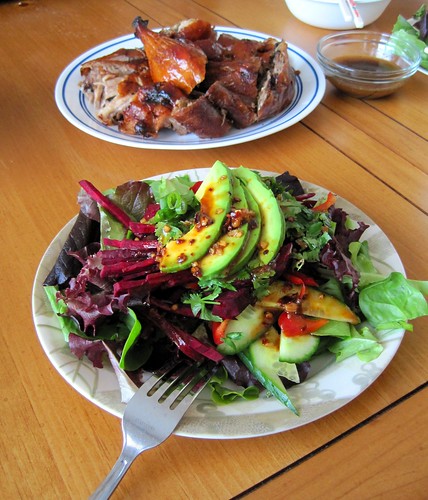
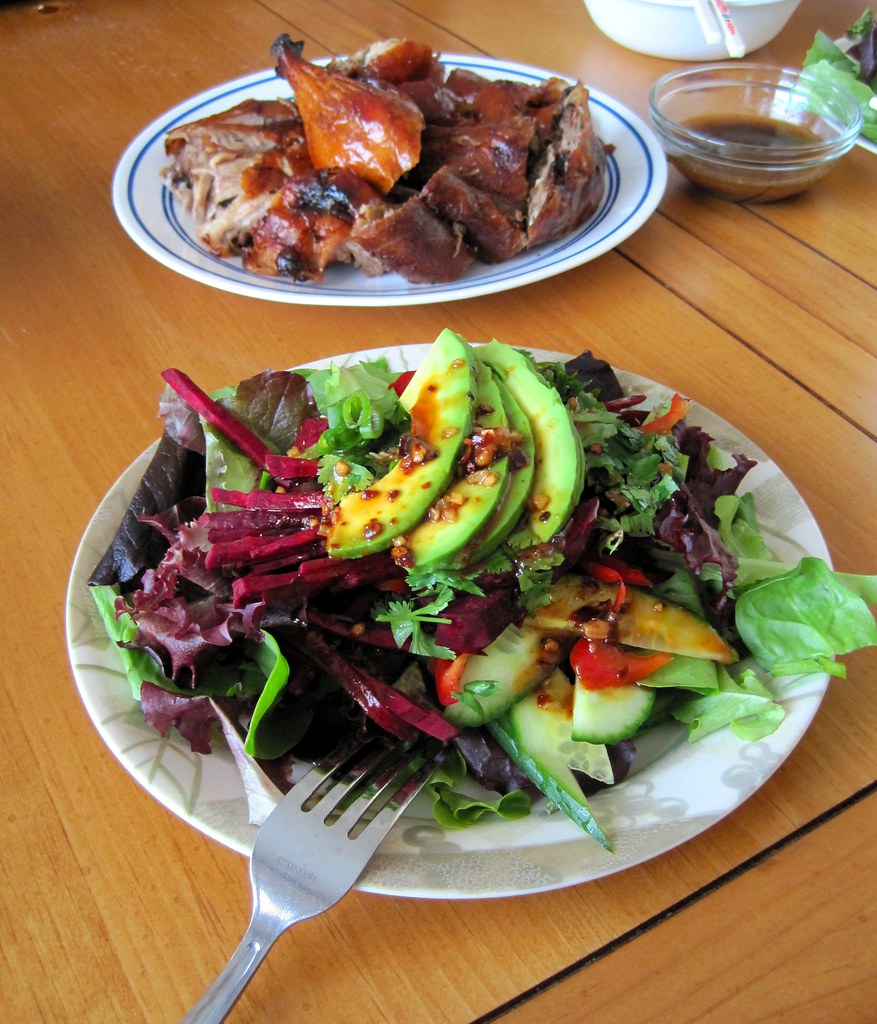
Avocados and spicy sauce are the perfect topper for this mixed greens salad. And instead of bacon bits, you could try roasted duck skin (we just had the roast duck on the side--it was delicious).

Salad (serves 3)
3-4 cups organic mixed greens
1 small beet, julienne
1/2 avocado, sliced
1/2 cucumber, sliced
1/2 bell pepper, sliced thinly

Spicy Dressing
2 Tbsp soy sauce
1 Tbsp 老干妈 hot sauce
1 Tbsp sesame oil
1 Tsp dark vinegar

Arrange salad on 3 plates. Mix dressing in a small cup and drizzle over salad. Garnish with chopped cilantro and thinly sliced scallions. Enjoy with roast duck (we got ours from the deli at the Asian supermarket).

Saturday, January 16, 2010

Salmon Sashimi


Sashimi at a sushi restaurant can cost up to $20, and they give you so little! We bought this gorgeous piece of salmon from a Japanese supermarket and sliced it ourselves. Total cost? Under $7.

Browned Butter Chocolate Chip Cookies


We combined the chilling-the-dough-for-36-hours step from the NY Times best chocolate chip cookie recipe with the Cooks Illustrated browned butter chocolate chip recipe to create these illegally scrumptious demons. We tried two versions, with and without finely chopped walnuts. The nuts win, in our opinion.

These cookies were crispy on the edges yet chewy in the middle, and had that distinctly delicious hint of browned butter. The few improvements we would make include adding a tangy ingredient to cut through the buttery flavor, like perhaps some orange zest or cranberries, and using a high quality dark chocolate rather than semisweet chips (which were a little too sweet). Of course, some would argue that the addition of cranberries ruins the purity of this classic recipe. There is merit to that assertion, and these cookies are crazy good as is.

Browned Butter Chocolate Chip Cookies
1¾ cups (8¾ ounces) unbleached all-purpose flour
½ teaspoon baking soda
14 tablespoons (1¾ sticks) unsalted butter
½ cup (3½ ounces) granulated sugar
¾ cup (5¼ ounces) packed dark brown sugar
1 teaspoon table salt
2 teaspoons vanilla extract
1 large egg
1 large egg yolk1¼ cups semisweet chocolate chips or chunks
¾ cup chopped walnuts, raw

1. Adjust oven rack to middle position and heat oven to 375 degrees. Line 2 large baking sheets with foil. Whisk flour and baking soda together in medium bowl; set aside.
2. Heat 10 tablespoons butter in 10-inch skillet over medium-high heat until melted, about 2 minutes. Continue cooking, swirling pan constantly until butter is dark golden brown and has nutty aroma, 1 to 3 minutes. Remove skillet from heat and, using heatproof spatula, transfer browned butter to large heatproof bowl. Stir remaining 4 tablespoons butter into hot butter until completely melted.
3. Add both sugars, salt and vanilla to bowl with butter and whisk until fully incorporated. Add egg and yolk and whisk until mixture is smooth with no sugar lumps remaining, about 30 seconds. Let mixture stand for 3 minutes, then whish for 30 seconds. Repeat process of resting and whisking 2 more times until mixture is thick, smooth and shiny. Using rubber spatula or wooden spoon, stir in flour mixture until just combined, about 1 minute. Stir in chocolate chips and nuts, giving dough final stir to ensure no flour pockets remain. Refrigerate dough for at least 24 hours, 36 is even better to allow flavors and texture to develop.
4. Use an ice cream scoop to portion out dough, roll into spheres, and position 8 cookies on each baking sheet.
5. Bake cookies 1 tray at a time until cookies are golden brown and still puffy, and edges have begun to set but centers are still soft, 10-14 minutes. Transfer baking sheet to wire rack; cool cookies completely before serving.

Thursday, January 7, 2010

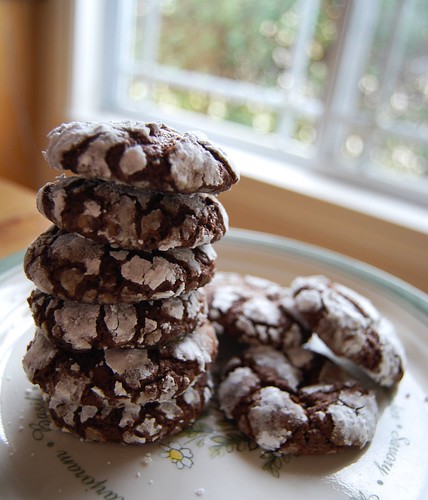
Choclate-espresso Snowcaps


Chocolate-espresso Snowcaps (recipe courtesy Martha Stewart)

Makes 18.
1/2 cup all-purpose flour
1/4 cup unsweetened cocoa powder
4 teaspoons instant espresso
1 teaspoon baking powder
1/8 teaspoon salt
4 tablespoons unsalted butter, room temperature
2/3 cup packed light-brown sugar
1 large egg
4 ounces bittersweet or semisweet chocolate, melted and cooled
1 tablespoon milk
1/2 cup confectioners sugar, for coating

In a medium bowl, whisk together flour, cocoa, espresso, baking powder, and salt. With an electric mixer, beat butter and brown sugar until light and fluffy. Beat in egg until well combined; mix in cooled chocolate. With mixer on low speed, gradually add dry ingredients; beat in milk just until combined. Flatten dough into a disk; wrap in plastic. Freeze until firm, about 45 minutes.

Preheat oven to 350 degrees. Line two baking sheets with parchment paper. Shape dough into 1-inch balls. Place confectioners' sugar into a medium bowl; working in batches, roll balls in sugar twice.

Place balls on prepared baking sheets, 2 inches apart. Bake, rotating sheets halfway through, until cookies have spread and coating is cracked, 12 to 14 minutes; cookies will still be soft to the touch. Transfer to a wire rack to cool completely.

Wednesday, January 6, 2010

Whole Wheat Walnut Cranberry Brownies


I thought it would be pretty cool to be able to have brownies for breakfast. With 2/3 cup of whole wheat and not as much sugar as most brownie recipes, these are healthy and delicious, not bad for a morning meal. Recipe courtesy MadeHealthier.com, with cranberries and extra walnuts added.

Whole Wheat Walnut Cranberry Brownies

2/3 cup whole wheat flour
1/3 cup all purpose flour
2/3 cup sugar
1/4 cup unsweetened cocoa powder
1 tsp baking powder
1/2 tsp salt
1/3 cup vegetable oil
1/2 cup 1% milk
1/4 cup water
2 eggs
1/2 tsp vanilla extract
1/4 cup semisweet chocolate chips
1 cup walnuts, chopped
3/4 cup dried cranberries

In a large bowl, combine the flour, sugar, cocoa powder, baking powder, and salt. In a separate bowl combine the oil, milk, water, eggs, and vanilla. Now mix everything together including the chocolate chips and walnuts, be careful that you don’t over mix.

Pour the brownie batter into an 8×8 nonstick pan. Drop in a few more chopped walnuts on the top and bake at 350 degrees F for about 30 minutes. Use a toothpick in the middle of the pan to check if it is done. Enjoy!

Tuesday, January 5, 2010

Zhong Zi


Zhong zi is a delicious Chinese food that is basically sticky rice wrapped in bamboo leaf and steamed. We added chopped kabocha (squash), flaked roasted duck meat, and goji berries to some of the zhong zi to add some interesting flavors. To eat it, unwrap the leaves and use chopsticks to hold the sticky rice and dip it in white sugar or maple syrup. It's chewy, sticky, and has the refreshing taste of bamboo leaf!

Zhong zi
sticky rice (uncooked, soaked for 1 hour)
bamboo leaves (soaked for 1 hour to soften)
string
mix-ins (kabocha squash, flaked duck meat, goji berries...anything else you think would be delicious!)

1. Take a bamboo leaf and form it into a skinny cone.
2. Fill 1/3 of it with rice, using a chopstick to push the rice all the way into the tip. Make sure you pack the rice tightly but not too tightly that it doesn't give at all when you squeeze it.
3. Add a mix-in, if desired.
4. Add more rice, packing it in with the back of a spoon or your thumb.
5. Add another mix-in, if desired.
6. Add more rice to within 0.5 cm of the rim of your bamboo cone.
7. Fold over the left and right sides of the bamboo leaf, and then fold down the top. Wrap tightly with a string and tie a square knot.
8. Put in a large pot of water and simmer for 4-5 hours until rice is cooked through.
9. To serve, unwrap individual zhong zi and dip in sugar or maple syrup.