Pages

Showing posts with label pastry. Show all posts

Tuesday, January 8, 2013

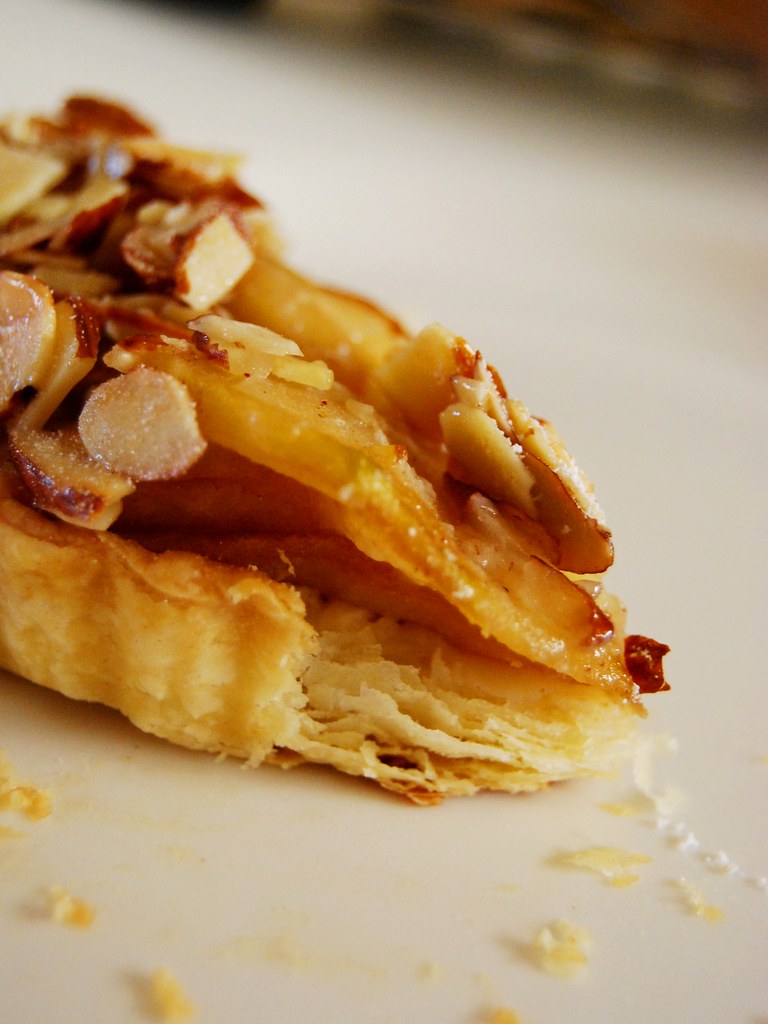
Almost Al Forno Apple Tart


Al Forno Restaurant in Providence has an amazing apple tart. It's served in a thick creme anglaise and costs about $20, and you have to order it with your dinner because they make it from scratch. Alex Guarnaschelli raved about it on The Best Thing I Ever Ate. We found a recipe for it, and it is surprisingly easy to make. Following some careful analysis, we have pinpointed the reasons for the tart's amazingness.

Reasons why the Al Forno Apple Tart is amazing
1. It is served fresh. When we made this tart, we ate some of it fresh out of the oven - it was flaky, warm, meltingly scrumptious and had a bright tang from the ginger sugar. Just half an hour later, it was cold and not as good. Fascinating.
2. It is served on a pool of creme anglaise. This sauce is the stuff of heaven. It is thick, rich, custardy, simply divine. We tried to recreate this sauce, but our recipe used a lower ratio of yolks to cream so it was runnier. Next time we will put more yolks. You should do the same.
3. The fresh ginger infused sugar that lies between the apples and the crust. Apple stuff always uses cinnamon or ground ginger, but the addition of fresh ginger and omission of muddling spices lets the bright apple flavor shine.
4. Thinly sliced apples. Al Forno uses a mandolin to shave off slices of apple. We didn't have one, so we just cut them paper thin. That is what lets them charge you $20 for one tart.
5. Super awesome flaky sweet crust. This crust is like a flaky pie crust, except that it has sugar in it. The sugar adds some crunch and perfectly complements the buttery flavor of the crust. They should make a perfume of Apple Crust Aroma. We would use it all day.

Al Forno Apple Tart
Adapted from Johanne Killeen | George Germon | Al Forno Restaurant, Providence, RI
Because these tarts are less bothersome to make than a pie — they take all of 30 minutes to make once you have the dough prepared — you can file them under easy-to-make. I bake them for weeknight dinners, brunches, picnics, even late-night snacks.—David Leite

2 cups all-purpose flour
1/4 cup sugar
1/2 teaspoon kosher salt
1/2 pound cold unsalted butter, cut into 1/2-inch cubes
1/4 cup ice water
2 tablespoons sugar mixed with 2 teaspoons freshly grated ginger
2 Golden Delicious apples, peeled, cored, cut in quarters and sliced paper-thin
2 tablespoons sugar
1 tablespoon unsalted butter, quartered
Vanilla ice cream, optional

In the bowl of a food processor fitted with a metal blade, pulse the flour, sugar, and salt until blended. Add the butter cubes and pulse until the mixture resembles coarse cornmeal with pieces no bigger than small peas, about 13 to 15 one-second pulses. With the motor running, add the ice water all at once through the feed tube. Process for about 10 seconds, stopping before the dough becomes a solid mass. Turn the contents of the bowl onto a work surface, form into four equal-size discs, and wrap tightly in plastic wrap. Refrigerate for an one hour.

Preheat the oven to 450°F (220°C). On a lightly floured surface, roll out each disc into a 7-inch circle and transfer to a parchment-lined baking sheet. Spread one-quarter of the ginger mixture on each tart, then arrange one-quarter of the slices (about half an apple) in an overlapping circular pattern on top, leaving a 1-inch border. Sprinkle the sugar evenly on top of the apples and fold over the borders. Most of the apples will remain uncovered. Press down the dough on the baking sheet, snugly securing the sides and seams to prevent drips. Dot the center of each tart with butter. Bake for 20 minutes, or until the crusts are golden and the apples have begun to brown slightly. Cool on a wire rack for 10 minutes and serve warm with a scoop of vanilla ice cream.

Friday, March 30, 2012

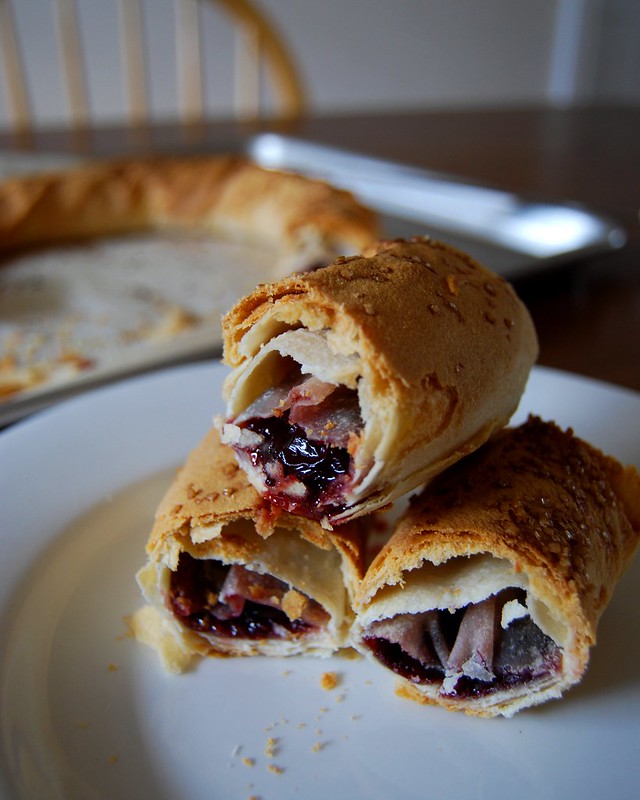
Sour Cherry Strudel


Sour Cherry Strudel (from about.com)

Strudel Dough:
1/2 cup lukewarm water
1/2 teaspoon vinegar
3/4 teaspoon salt
2 cups all-purpose flour
1 tablespoon cold butter
Melted butter
Flour for rolling
Cherry Strudel Filling:
8 cups washed, stemmed, pitted sour cherries
2 teaspoons grated lemon zest (optional)
1 1/2 to 2 cups sugar or to taste
Garnish:
Confectioners' sugar for dusting

In a small bowl, mix water, vinegar and salt. Place flour in a large bowl and cut the butter in as for pie dough. Add water mixture and stir by hand for about 5 minutes or until dough becomes smooth.

Transfer dough to a lightly floured surface and knead for about 5 minutes, adding as little extra flour as possible. Cover with plastic wrap and let rest 1 hour.

Meanwhile, prepare the cherry filling by combining the cherries, lemon rind, if using, and sugar in a large bowl. Set aside.

Cover a large table with a clean cotton tablecloth (it will become stained from the fat in the dough, so use an old tablecloth). Sprinkle the cloth generously with flour. Place the dough in the center of the cloth and brush it with melted butter. Roll the dough to a 1/8-inch thickness.

Begin stretching the dough either over the backs of your hands or palm-side up, whichever works best for you. Work quickly, continually lifting the dough and stretching it by pulling your hands apart until it is almost paper thin and drapes over the sides of the table. See Serbian Cheese Strudel Making to get the idea. Using kitchen shears, trim off the thicker outer edges of the strudel dough.

Place rack in middle of oven and heat to 400 degrees. Brush the dough liberally with melted butter. Place the cherry filling along one long edge in a 3-inch-wide strip, 2 inches from the edges.

Use the tablecloth to roll the strudel away from you, jellyroll fashion, until it is completely rolled. Brush the top of the strudel with melted butter. Cut into sections that will fit your baking sheets and tuck in ends of strudel.

Place parchment on baking sheets and transfer strudel sections to them, seam-side down. Bake 10 minutes, reduce heat to 375 degrees and bake 20 to 25 minutes more or until strudel is crisp and golden.

Remove from oven, cool slightly and then cut on an angle into slices. Dust with confectioners' sugar. You may also cool completely to make the slicing easier and then rewarm in a microwave. Dust with confectioners' sugar and serve as is or with a dollop of whipped cream or scoop of ice cream.
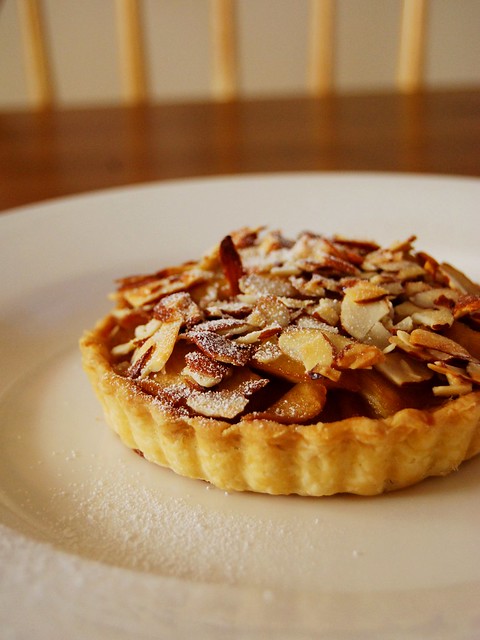
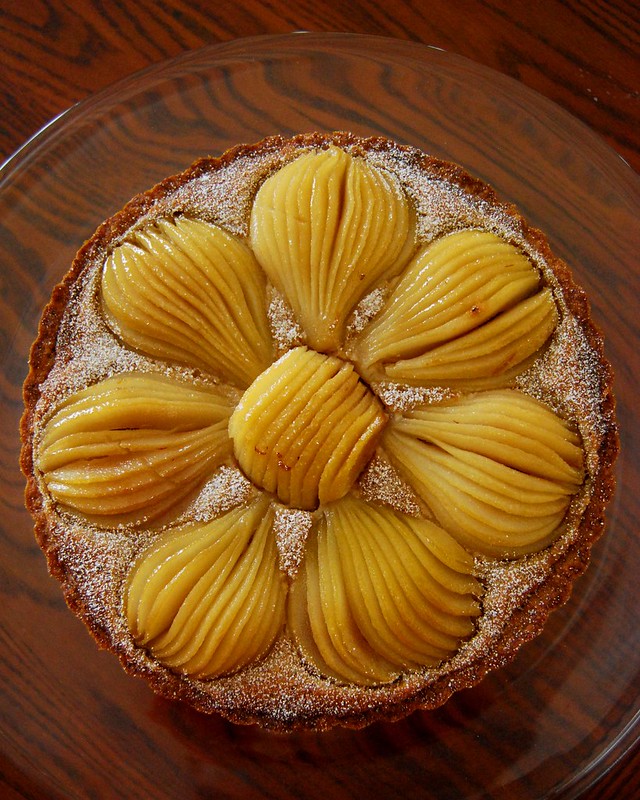
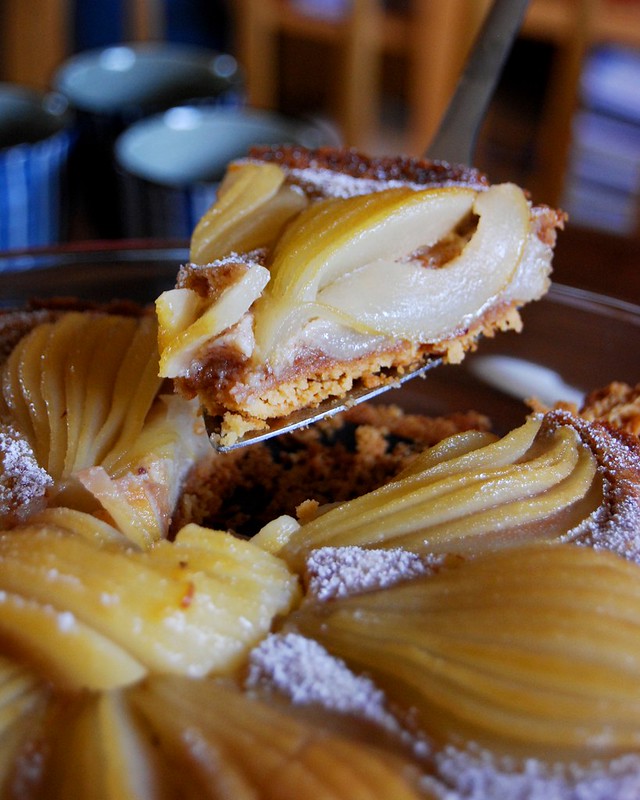
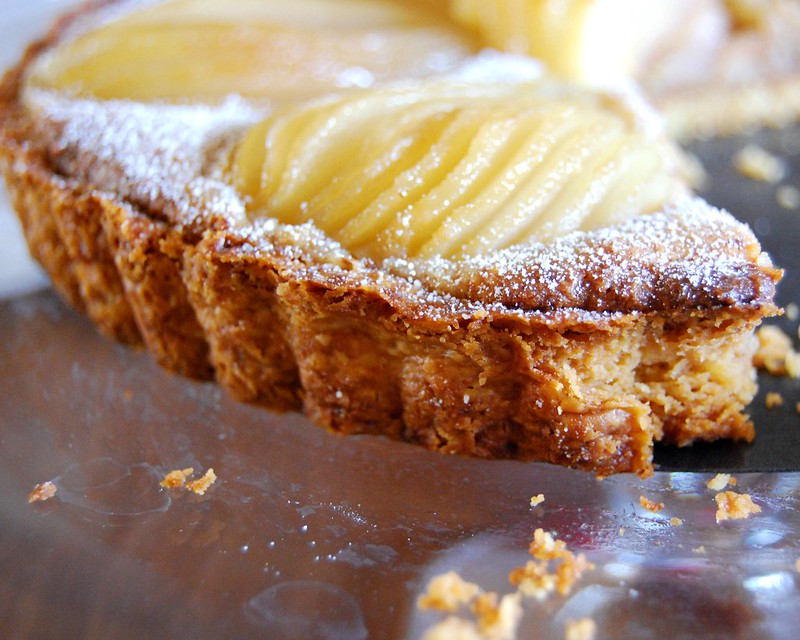
Dorie's Pear Tart, Take Two


European butter produced a wonderfully light, flaky, verge-of-burnt brown crust.


Changes from Dorie's recipe:
-in frangipane: ground toasted almonds instead of ground blanched almonds, almond extract instead of vanilla
-in crust: European butter (85% butterfat)
-in poaching syrup: 1/4 cup bourbon
-glaze: reduced bourbon/lemon/pear poaching syrup

Monday, August 15, 2011

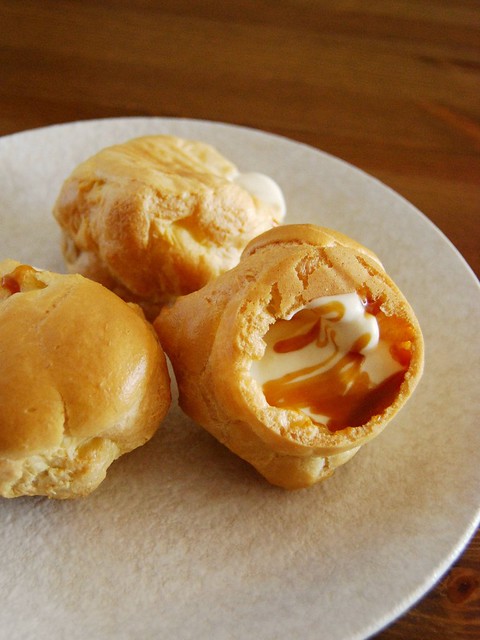
Cavernous Cream Puffs

The cream puff is such a naughty way to indulge in cream. Its lumpy, humble external surface belies the dollop of gluttony that fills its cavernous interior. The best kind of cream for this indulgence is whipped cream lightened vanilla pastry cream - so billowy, light, yet creamy. With a drizzle of salted creme fraiche lemon caramel sauce on the inside of the puff, it is a divine experience.
I used to think huge cream puffs were the ultimate indulgence. But now I think small ones are better. The shell is crispier, and the ratio of cream to shell is perfect for enjoying a few delicious bites. Cream doesn't dribble down your chin when you eat it. And, the best part is that you can eat several because they are small.

Sunday, August 14, 2011

Milky Way Tart and Raspberry Cream Tart

Raspberry cream tart with rum laced pastry cream and caramel-lined almond sugar butter crust. I think I would've preferred a flaky buttery tart shell because it is lighter and more exciting when it shatters in your mouth, but this was deliciously crunchy and buttery too.
The Milky Way Tart is genius. It's supposed to be a thick layer of caramel topped with a billowy, magical layer of whipped milk chocolate ganache. I was too stingy with the caramel, unfortunately. Maybe a little stingy with the cream too. Next time, I would totally use a flaky tart shell, spread at least 1 cm of caramel, and load up on the cream. It would be a dangerous combination.

Milky Way Tart
Adapted from Joanne Chang's Flour: Spectacular Recipes from Boston's Flour Bakery + Cafe

Makes 1 9-inch tart

For the tart shell, use your favorite pie or tart dough recipe, baked off in a 9-inch tart pan with a removable bottom.
For the milk chocolate mousse:

5 ounces milk chocolate, chopped (we used quality milk choco chips)
2 cups (1 pint) heavy cream
1 teaspoon instant espresso powder
1/8 teaspoon kosher salt

For the caramel filling:

3/4 cup granulated sugar
1/3 cup water
1 tablespoon corn syrup
3/4 cup heavy cream
2 tablespoons unsalted butter
1/4 teaspoon kosher salt
2 teaspoons vanilla extract

For the tart assembly:

One baked and cooled 9-inch tart shell (like My Favorite Pie Crust)
3-to 4-inch slab milk chocolate, at warm room temperature, for decorating


Place the chopped chocolate (or chocolate chips) in a medium heatproof bowl.

Gently heat the cream with the espresso powder and salt in a small saucepan over medium heat. As soon as you see bubbles beginning to form around the edges of the pan, remove it from the heat--don't let the cream come to a boil. Pour over the chocolate and let sit for 1 minute. Whisk until smooth. Transfer the mixture to a mixing bowl (I prefer a metal bowl for faster cooling, and poured it straight into the bowl of my standing mixer). Cover the bowl tightly with plastic wrap and place in the refrigerator until very cold, at least 8 hours and up to 3 days ahead. The mixture needs to be extremely cold in order for it to whip properly, so don't skimp on the chilling time. If you are short on time or generally impatient like me, throw the metal bowl into the freezer and give it a good whisking every 5-10 minutes or so--you can complete the chilling this way in about an hour.

To make the caramel, place the sugar, water and corn syrup in a medium saucepan and stir well to combine. Bring the syrup to a boil over medium-high heat and cook until the syrup becomes a deep amber color. Pull the pan from the heat when you see it reaching a deep golden color--it takes only a moment for caramel to go from golden to amber to straight up burnt, so pull it early if in doubt. Stirring constantly with a whisk or heatproof spoon, stir in the cream all at once. Be careful--it will bubble up violently, but keep stirring until the lumps of caramel smooth out once again. Stir in the butter, salt and vanilla. When the caramel is smooth and well-blended, pour it into a small heatproof container and set in the refrigerator to cool and thicken, at least 4 hours or up to 1 week. Again, using a metal container (I use a loaf pan) will cut this time down significantly.

When the cream mixture and caramel have both cooled sufficiently, assemble the tart. Place the tart shell on a serving platter. Spread about three-fourths of the caramel evenly over the bottom of the tart shell. Fit the bowl with the cream mixture onto a stand mixer fitted with the whisk attachment and whip on medium-high speed until stiff peaks form (or beat with a handheld mixer). Mound the chocolate mousse on top of the caramel and smooth evenly.

Using a vegetable peeler, make chocolate curls from the bar of milk chocolate: warm the bar slightly in the palm of your hand before pulling the peeler across it to get curls instead of just grating the chocolate. Drizzle the tart with the remaining caramel and follow it with a generous sprinkling of chocolate curls. Refrigerate the tart for 30 minutes before serving (or airtight for up to 8 hours).

Saturday, July 2, 2011

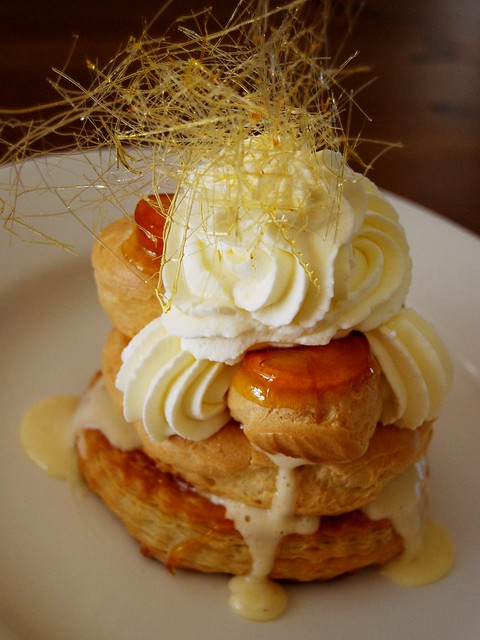
Gateau St Honore

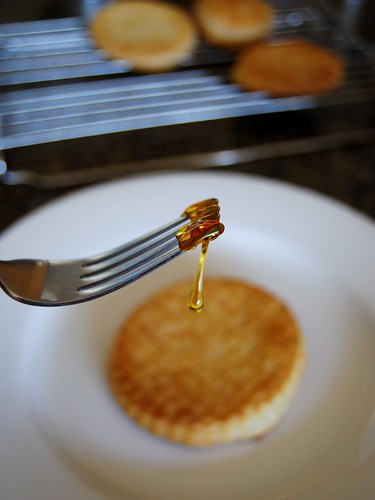
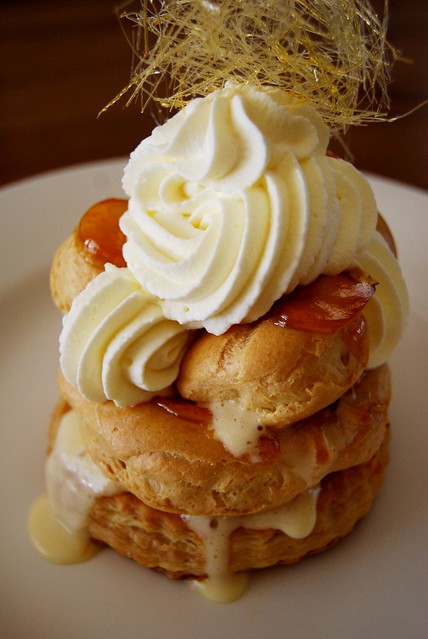
This evil little puppy. Whoever came up with it was up to no good. The Gateau Saint Honore is made of a puff pastry base, a ring of choux pastry encircling a filling of silky light chiboust cream (meringue lightened pastry cream), accented with cream puffs dipped in caramel and garnished with a generous swirl of chantily cream. What's that? Not enough cream? Oh let's be friends. :D
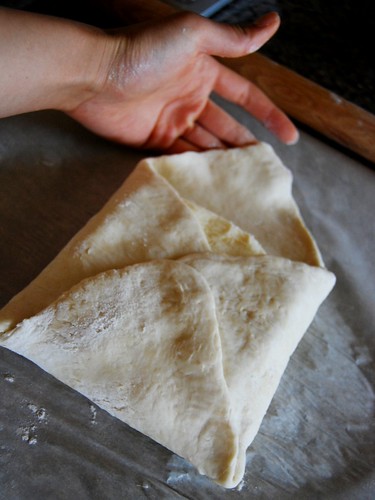
For the puff pastry base, measure the butter square, roll out the flaps (this was so much fun!) and tuck that butter baby in nice and snug. Don't get too attached. You'll be smashing and rolling it and sticking it in the cold fridge.
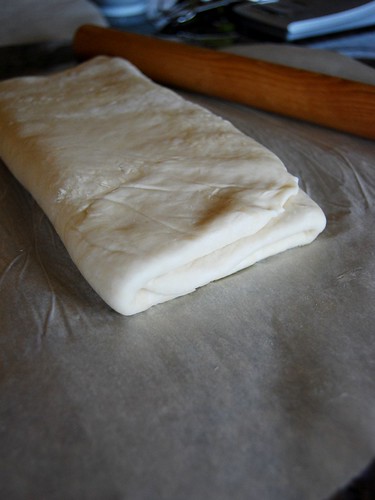
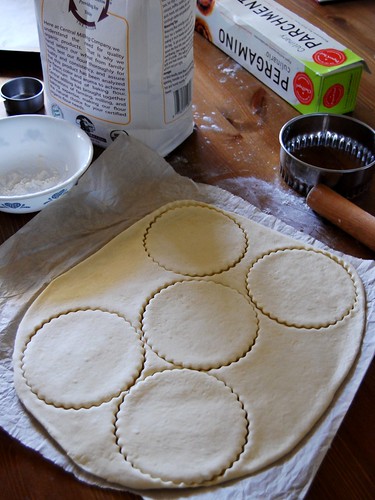
Fold like a business letter, chill 40 minutes, repeat 5 more times for traditional puff pastry and only 3 more times for this cake! What a deal. I opted to make miniature cakes so I cut them little circles. See that middle photo right below? That's the culprit...the hot caramel that is responsible for the fat blister on someone's left thumb! Actually the thumb's owner's own stupidity is to blame.

To make puff pastry, you need two things which I lacked. One, the ability to roll dough into shapes that don't resemble amoebas. Two, the patience of a saint. The dough needs to rest for 40 minutes after each turn (there are six turns! can't even count them on one hand) to let the gluten relax and the butter rechill so it doesn't melt and stick the precious layers together. I was on my 5th or 6th turn...forgot to do the indentation dough thing to keep track, and I checked another recipe from the Pastry Bible (not the recipe I was using, but I was just curious) and to my elation it said that you only need 4 turns for the St Honore because the base of the cake doesn't need all 1000 or so layers of traditional puff pastry. Me and that book became friends real fast.
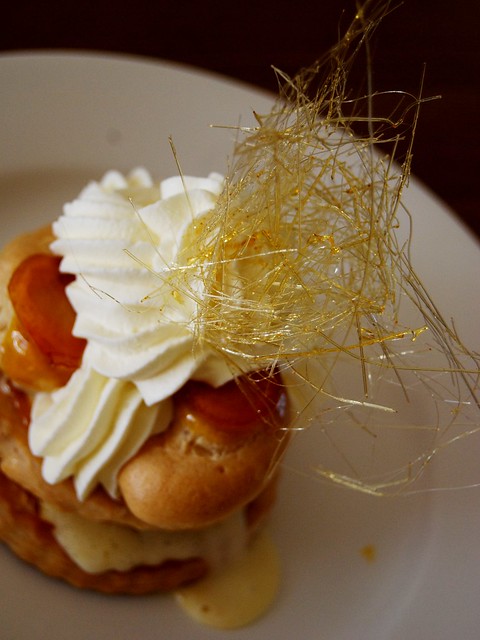
The spun sugar was actually really easy to make. I watched a few youtube videos of some really pro people making spun sugar, and then got sidetracked and found myself gawking at old Asian ladies making dragons and phoenixes and stuff out of caramel. Amazing! But being the overachiever I am, I made something even better. The phoenix's maison. What did you say? Oh please, don't inflate my ego.
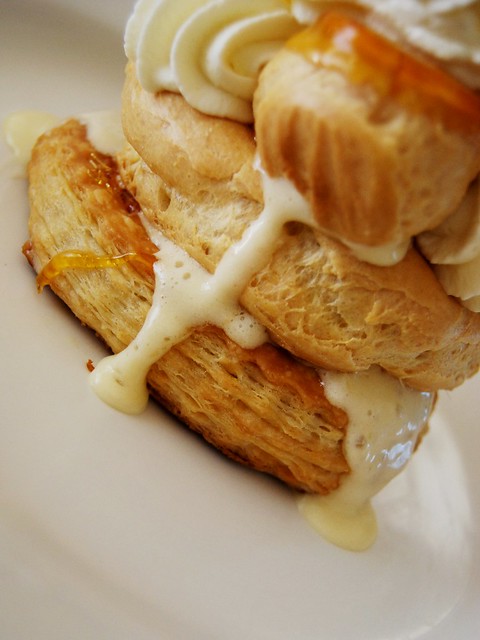
Hear that? It's the puff pastry calling your name. Needless to say, the seductively dripping chiboust cream is intentional.


I used a combination of the recipe from Tartelette's beautiful blog and the one from the Pastry Bible. My ring of choux pastry on top of the puff pastry was definitely too fat, and unfairly cheated me out of my precious chiboust cream filling. Also the three cream puffs on this cake are the only three presentable ones from the batch - the others were either the size of grapes or the shape of oversized lumpy popcorn. My piping skills never fail to amaze me. To be honest, I really only cared for the chiboust cream! I could just live on that stuff. Next time I'll just make a vat of chiboust cream and dine in heaven. Since it'd be sans the butter-laden puff pastry, it would be figure friendly too...

Thursday, June 9, 2011

Tartine Tarts

Apple nougatine tart, based on the recipe from the Tartine Bakery book. It is a flaky all butter crust filled with caramelized granny smith and golden delicious apples, tossed with a teeny bit of cinnamon and the juice of a lime (the recipe didn't call for cinnamon and used lemon instead of lime; I used lime just because I was lazy and didn't want to go hunting for a lemon). The tart is topped with an almond nougatine (what the heck is that?) which is made from sliced almonds, egg whites, sugar, and salt. Couldn't be easier!

The trick to a flaky crust? Cook's Illustrated will tell you to use shortening and vodka...but seriously, how are you supposed to bake when you are tipsy and suffering cardiac arrest from trans fats. Listen to Martha Stewart, or Tartine Bakery, and use all butter! The key points:
- Cut butter into 2 cm cubes and freeze for 10 min while you put flour in food processor
- Weigh all ingredients
- Use ice water
- Pulse butter and flour very briefly until you have fat pea-sized clumps. Peas are big! Don't be fooled by their unassuming name. None of this pea-wee nonsense. Fat peas!
- Pour the bare minimum of water in all at once and pulse very briefly until it just starts to clump - Don't wait for it to form a ball in the processor! Squeeze together, and if it holds, you're golden. If it doesn't, sprinkle on a little more water.
- Dump the dough out into a bowl, squeeze once into a dense flat disk, cover with plastic wrap and stick it in the fridge for a good hour.
- Roll out into disks, and fill tart pans. No stretching the dough! It will shrink when it bakes.
- FREEZE again for 15 minutes, then bake immediately from the freezer in a 385 degree oven with coffee filters weighted down with beans for 25 minutes, then remove weights and bake until golden, at least 5 minutes.
The complete recipe is in Tartine's book. First you peel and core the apples, and then slice them 1/8-1/4 inch thick (I think it's ok if they are different thicknesses because the texture difference is nice). Working in batches, melt 1 Tbsp butter and 2 tsp sugar in large heavy bottomed pan over high heat until sugar starts to caramelize. Add apples, cook until apples soften - remove to a holding bowl. Repeat for all apples, and then toss everything with the juice of a lime or lemon, zest, some salt, and some cinnamon (Tartine did not call for cinnamon). Layer the apples neatly into the shells; it's ok if the apples are still warm. For the topping, mix egg white, sugar, toasted almonds, and pinch of salt until well blended. Spread evenly over tarts. Bake at 350 for 30 minutes or until topping is just golden and you are salivating. The combination of the buttery flaky crust, tangy sweet caramelized apples, and toasted sweet and savory almonds is amazing.

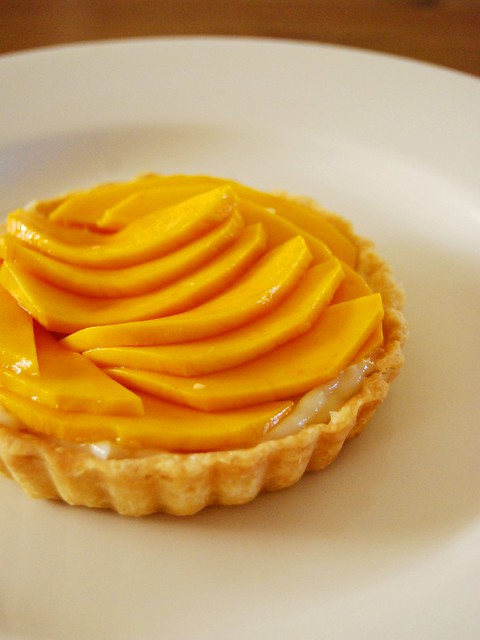
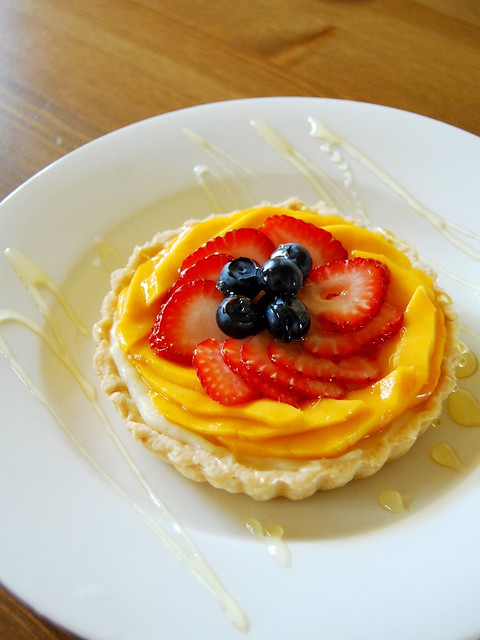
Too many pictures of the same thing? I think so. But I couldn't resist! This mango tart is very simple. Just Tartine's pastry cream and fresh sliced manila mangoes (I am in love with these! They have a silken texture and an incredible floral, nutty, milky fragrance). Tartine's pastry cream is unique in that it uses whole eggs and milk, rather than egg yolks and half-and-half, so it is lighter and the vanilla flavor is brighter. Next time I might reduce the sugar a little because this was a teeny bit sweet, but delicious. (can't say no to custard!) I didn't have vanilla beans, so I used some vanilla paste.
Fruit tart with mango, strawberries, and bluberries